How to Download Kiro IDE 2025: Complete Installation Guide for Windows, Mac & Linux

How to Download Kiro IDE: Quick Start Guide
Downloading and installing Kiro IDE is straightforward, but knowing the right steps ensures a smooth setup experience. This comprehensive guide covers everything you need to know about getting Kiro IDE running on your system, from system requirements to troubleshooting common installation issues.
System Requirements for Kiro IDE
Before you download Kiro IDE, ensure your system meets these minimum requirements:
Windows Requirements
- Operating System: Windows 10 (64-bit) or Windows 11
- RAM: 4GB minimum, 8GB recommended
- Storage: 500MB free disk space
- Processor: Intel Core i3 or AMD equivalent
- Internet: Required for AI features and updates
macOS Requirements
- Operating System: macOS 10.15 (Catalina) or later
- RAM: 4GB minimum, 8GB recommended
- Storage: 500MB free disk space
- Processor: Intel or Apple Silicon (M1/M2/M3)
- Internet: Required for AI features and updates
Linux Requirements
- Operating System: Ubuntu 18.04+, CentOS 7+, or equivalent
- RAM: 4GB minimum, 8GB recommended
- Storage: 500MB free disk space
- Processor: x64 architecture
- Internet: Required for AI features and updates
Step-by-Step Kiro IDE Download Process
Method 1: Download from Official Website
- Visit the Official Site: Navigate to https://kiro-ide.net/download
- Select Your Platform: The website automatically detects your operating system
- Click Download: Choose the appropriate version for your system
- Wait for Download: The installer file will download to your default downloads folder
Method 2: Direct Download Links
For users who prefer direct links, here are the official download URLs:
- Windows: Download the
.exeinstaller - macOS (Intel): Download the
.dmgfile for Intel Macs - macOS (Apple Silicon): Download the
.dmgfile for M1/M2/M3 Macs - Linux: Download the
.tar.gzarchive or.debpackage
Installing Kiro IDE on Different Platforms
Windows Installation
- Run the Installer: Double-click the downloaded
.exefile - User Account Control: Click "Yes" when prompted by Windows UAC
- Installation Wizard: Follow the setup wizard prompts
- Choose Installation Path: Select installation directory (default recommended)
- Create Desktop Shortcut: Check the box to create a desktop icon
- Complete Installation: Click "Install" and wait for the process to finish
- Launch Kiro IDE: Start the application from the desktop shortcut or Start menu
macOS Installation
- Open DMG File: Double-click the downloaded
.dmgfile - Drag to Applications: Drag Kiro IDE to the Applications folder
- Security Prompt: If prompted about unidentified developer, go to System Preferences > Security & Privacy
- Allow Installation: Click "Open Anyway" in the Security & Privacy settings
- Launch Application: Open Kiro IDE from Applications folder or Launchpad
Linux Installation
Using .deb Package (Ubuntu/Debian)
sudo dpkg -i kiro-ide.deb
sudo apt-get install -f  # Fix any dependency issues
Using .tar.gz Archive
tar -xzf kiro-ide.tar.gz
cd kiro-ide
./install.sh
Using Package Managers
# Add Kiro IDE repository (if available)
curl -fsSL https://packages.kiro.dev/gpg | sudo apt-key add -
echo "deb https://packages.kiro.dev/apt stable main" | sudo tee /etc/apt/sources.list.d/kiro-ide.list
sudo apt update
sudo apt install kiro-ide
First-Time Setup and Configuration
Initial Account Setup
- Launch Kiro IDE: Open the application after installation
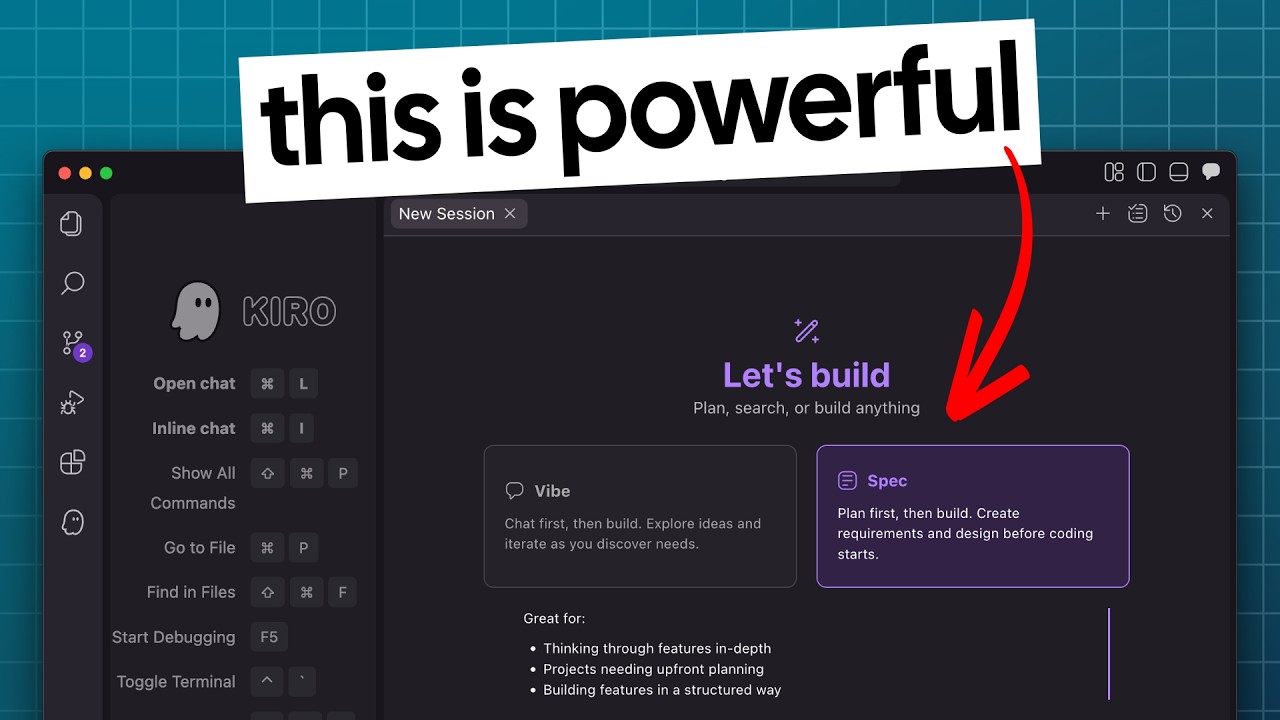
- Welcome Screen: You'll see the Kiro IDE welcome interface
- Sign In Options: Choose from Google, GitHub, or Amazon account
- Authentication: Complete the OAuth flow in your browser
- Profile Import: Optionally import VS Code settings and extensions
Essential Configuration Steps
Import VS Code Settings
- Automatic Detection: Kiro IDE can automatically find your VS Code configuration
- Manual Import: Browse to your VS Code settings folder if needed
- Extension Compatibility: Most VS Code extensions work with Kiro IDE
Theme and Interface Setup
- Choose Theme: Select from light, dark, or Kiro's signature purple theme
- Font Configuration: Adjust font family and size for optimal readability
- Layout Preferences: Customize sidebar position and panel arrangements
AI Features Configuration
- Model Selection: Choose between Claude 3.7 and Claude Sonnet 4
- Usage Limits: Review your free tier limits and upgrade options
- Autopilot Settings: Configure automatic code execution preferences
Troubleshooting Common Installation Issues
Windows-Specific Issues
Issue: "Windows protected your PC" message Solution: Click "More info" then "Run anyway", or temporarily disable Windows Defender
Issue: Installation fails with permission error Solution: Run installer as administrator (right-click > "Run as administrator")
Issue: Antivirus blocking installation Solution: Temporarily disable antivirus or add Kiro IDE to whitelist
macOS-Specific Issues
Issue: "App can't be opened because it is from an unidentified developer" Solution:
- Go to System Preferences > Security & Privacy
- Click "Open Anyway" next to the blocked app message
- Or use:
sudo xattr -rd com.apple.quarantine /Applications/Kiro\ IDE.app
Issue: Installation stuck on "Verifying..." Solution: Cancel and retry, or download from a different network
Linux-Specific Issues
Issue: Missing dependencies
Solution: Install required packages:
bash
sudo apt-get install libgtk-3-0 libxss1 libasound2 libdrm2 libxcomposite1 libxdamage1 libxrandr2 libgbm1
Issue: Permission denied when running
Solution: Make the binary executable:
bash
chmod +x kiro-ide
Optimizing Kiro IDE Performance
Memory and CPU Optimization
- Close Unused Extensions: Disable extensions you don't actively use
- Limit Concurrent AI Requests: Avoid running multiple AI operations simultaneously
- Regular Updates: Keep Kiro IDE updated for performance improvements
- System Resources: Monitor RAM usage and close other heavy applications
Network Optimization
- Stable Internet: Ensure reliable internet connection for AI features
- Firewall Settings: Configure firewall to allow Kiro IDE connections
- Proxy Configuration: Set up proxy settings if required by your network
Getting Started with Kiro IDE Features
Essential First Steps
- Create Your First Project: Start with a simple "Hello World" project
- Explore Spec Mode: Try the structured development approach
- Set Up Agent Hooks: Configure automated workflows
- Test AI Integration: Experiment with Claude AI assistance
Recommended Learning Path
- Basic Navigation: Familiarize yourself with the interface
- AI Chat Features: Learn to interact with the AI assistant
- Spec-Driven Development: Master the planning-first approach
- Agent Hooks: Automate repetitive development tasks
- Advanced Features: Explore MCP integration and custom steering
Keeping Kiro IDE Updated
Automatic Updates
- Enable Auto-Updates: Kiro IDE checks for updates automatically
- Update Notifications: You'll receive notifications when updates are available
- Background Downloads: Updates download in the background
Manual Updates
- Check for Updates: Go to Help > Check for Updates
- Download Manually: Visit the official website for the latest version
- Clean Installation: Uninstall old version before installing new one (if needed)
Security and Privacy Considerations
Data Protection
- Local Processing: Most operations happen locally on your machine
- Cloud AI: AI features require internet connection and data transmission
- Privacy Settings: Review and configure data sharing preferences
- Code Security: Understand what code is sent to AI services
Best Practices
- Regular Backups: Back up your projects and configurations
- Secure Authentication: Use strong passwords and enable 2FA where possible
- Network Security: Use VPN if required by your organization
- Code Review: Review AI-generated code before committing
Conclusion
Installing Kiro IDE is a straightforward process that opens up powerful AI-assisted development capabilities. By following this guide, you should have Kiro IDE running smoothly on your system and be ready to explore its innovative features.
Remember to keep your installation updated and explore the various AI-powered features that make Kiro IDE unique in the development tool landscape.
Ready to start your AI development journey? Download Kiro IDE now and experience the future of intelligent coding assistance.
Related Articles

After 3 Months with Claude Code Spec, I Never Want to Write Docs Manually Again
From being tortured by documentation to generating complete project specs in 5 minutes - this tool completely changed how I work. Sharing some real-world experience.

AI IDE Review: Kiro IDE vs VS Code - Hands-On Testing of Spec-Driven Development
Comprehensive AI IDE review comparing Kiro IDE with VS Code. Real-world testing of AI IDE features including Spec-Driven Development and Agent Hooks automation.

Kiro IDE Complete Tutorial: Master Kiro IDE Spec-Driven Development & Agent Hooks
Complete Kiro IDE guide covering Kiro IDE's revolutionary Spec-Driven Development workflow, Kiro IDE Agent Hooks automation, and how Kiro IDE transforms coding practices.